Getting Started
Introduction of Datagen
Create your first flow
What is DataGen?
Datagen is a platform to let you build your AI workflow effortlessly. Whether you know nothing about coding or you are a seasoned developer, you can use DataGen to easily build and publish your workflow. Ready to scale your work withot scale your effort? Let’s get started!Create your first Flow
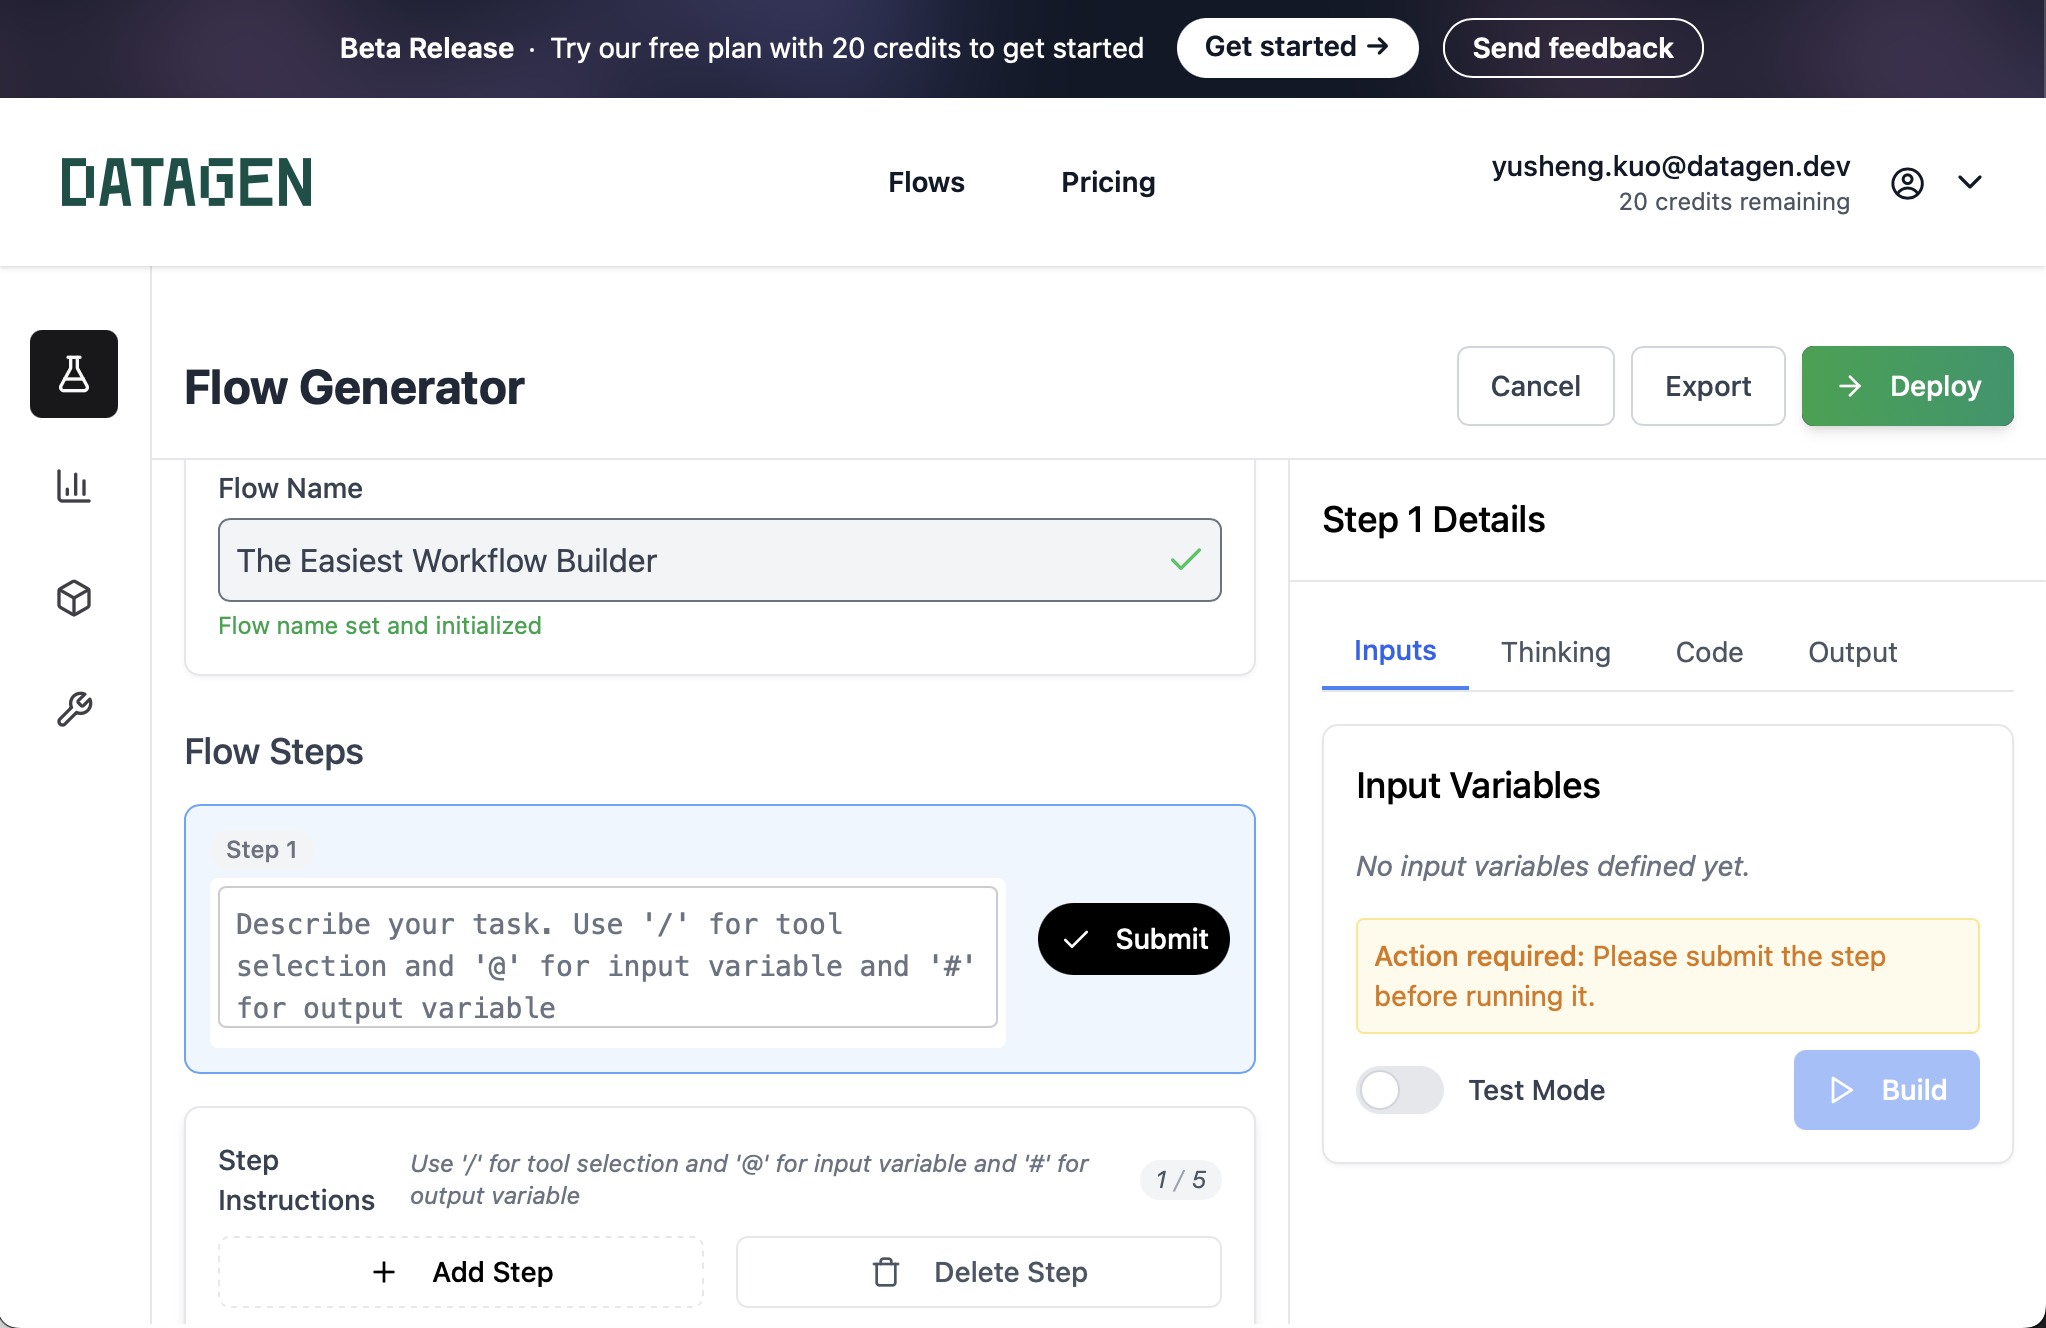
Flow is the core of DataGen, composed of multiple steps, to help you automate your tasks. Once login, you will see the dashboard of all your flows. To create your first flow, click on the ”+ New Flow” button. Put in the name of your flow and hitEnter to create your first flow.
Create Step
Once the flow is created, you can now add steps to your flow. Unlike most no-code workflow builder with predefined steps, DataGen let you create your own step. While you can create step however you want, we recommend you to follow two design principles: 1 : Break down the task into step you think can be done easily by LLM to improve the success rate. This may not be obvious at first, but you can easily get trained by playing around with the tool. 2 : Try to pull expensive data upfront so you can save money and freely play around with the tool. withough burning a hole in your pocket.Inputs @
Datagen allows you to explicity define the inputs of the step. This is useful when you want to configure the step. and giving the LLM the ability to reference on it later on.
To create an input, simply add @ in front of the input name. For example, to create a input variable for linkedin_url, just do @linkedin_url and you can see the input in Input with linkin_url on the right.

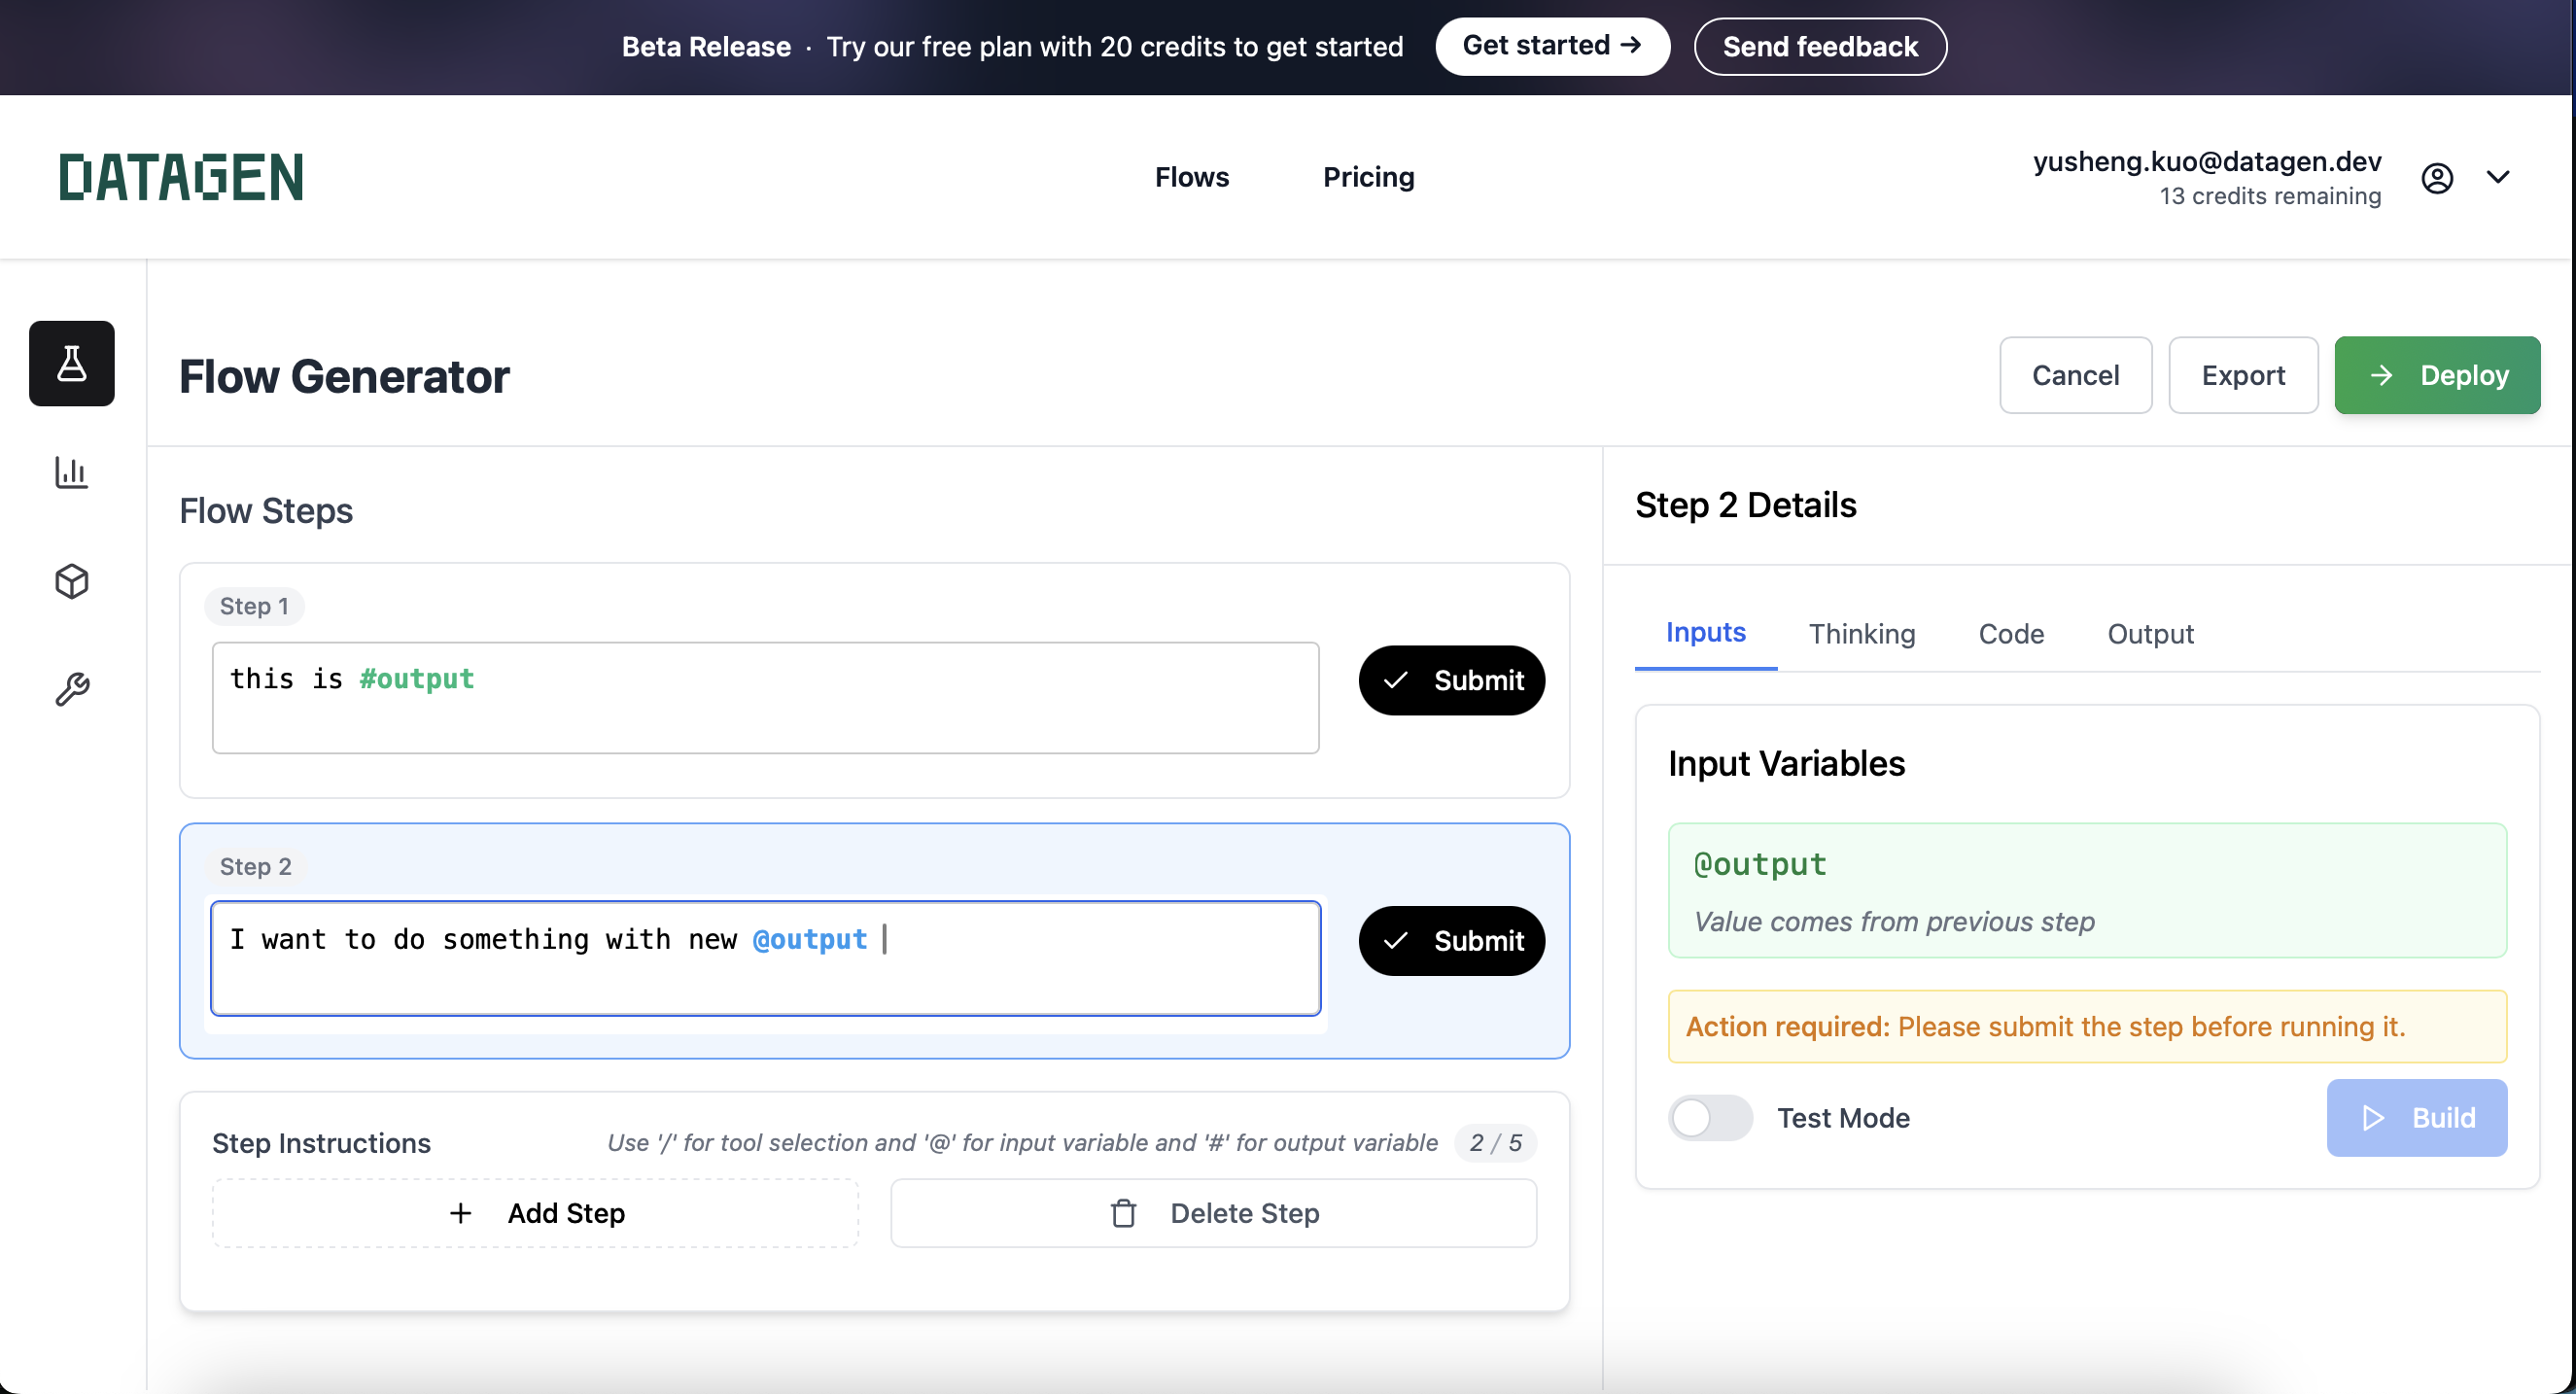
Outputs #
Beside the input, you can also define the output of the step by adding ’#’ in front of the output name. This is useful when you want to pass the result of the step to the next step.
To reference the output of previous step, simply add @ in front of the output name. No new input created in the input variable section because DataGen will automatically recognize it is referring to the output of the previous step.
Once the step is successfully built, you can see the output in the output section on the right.
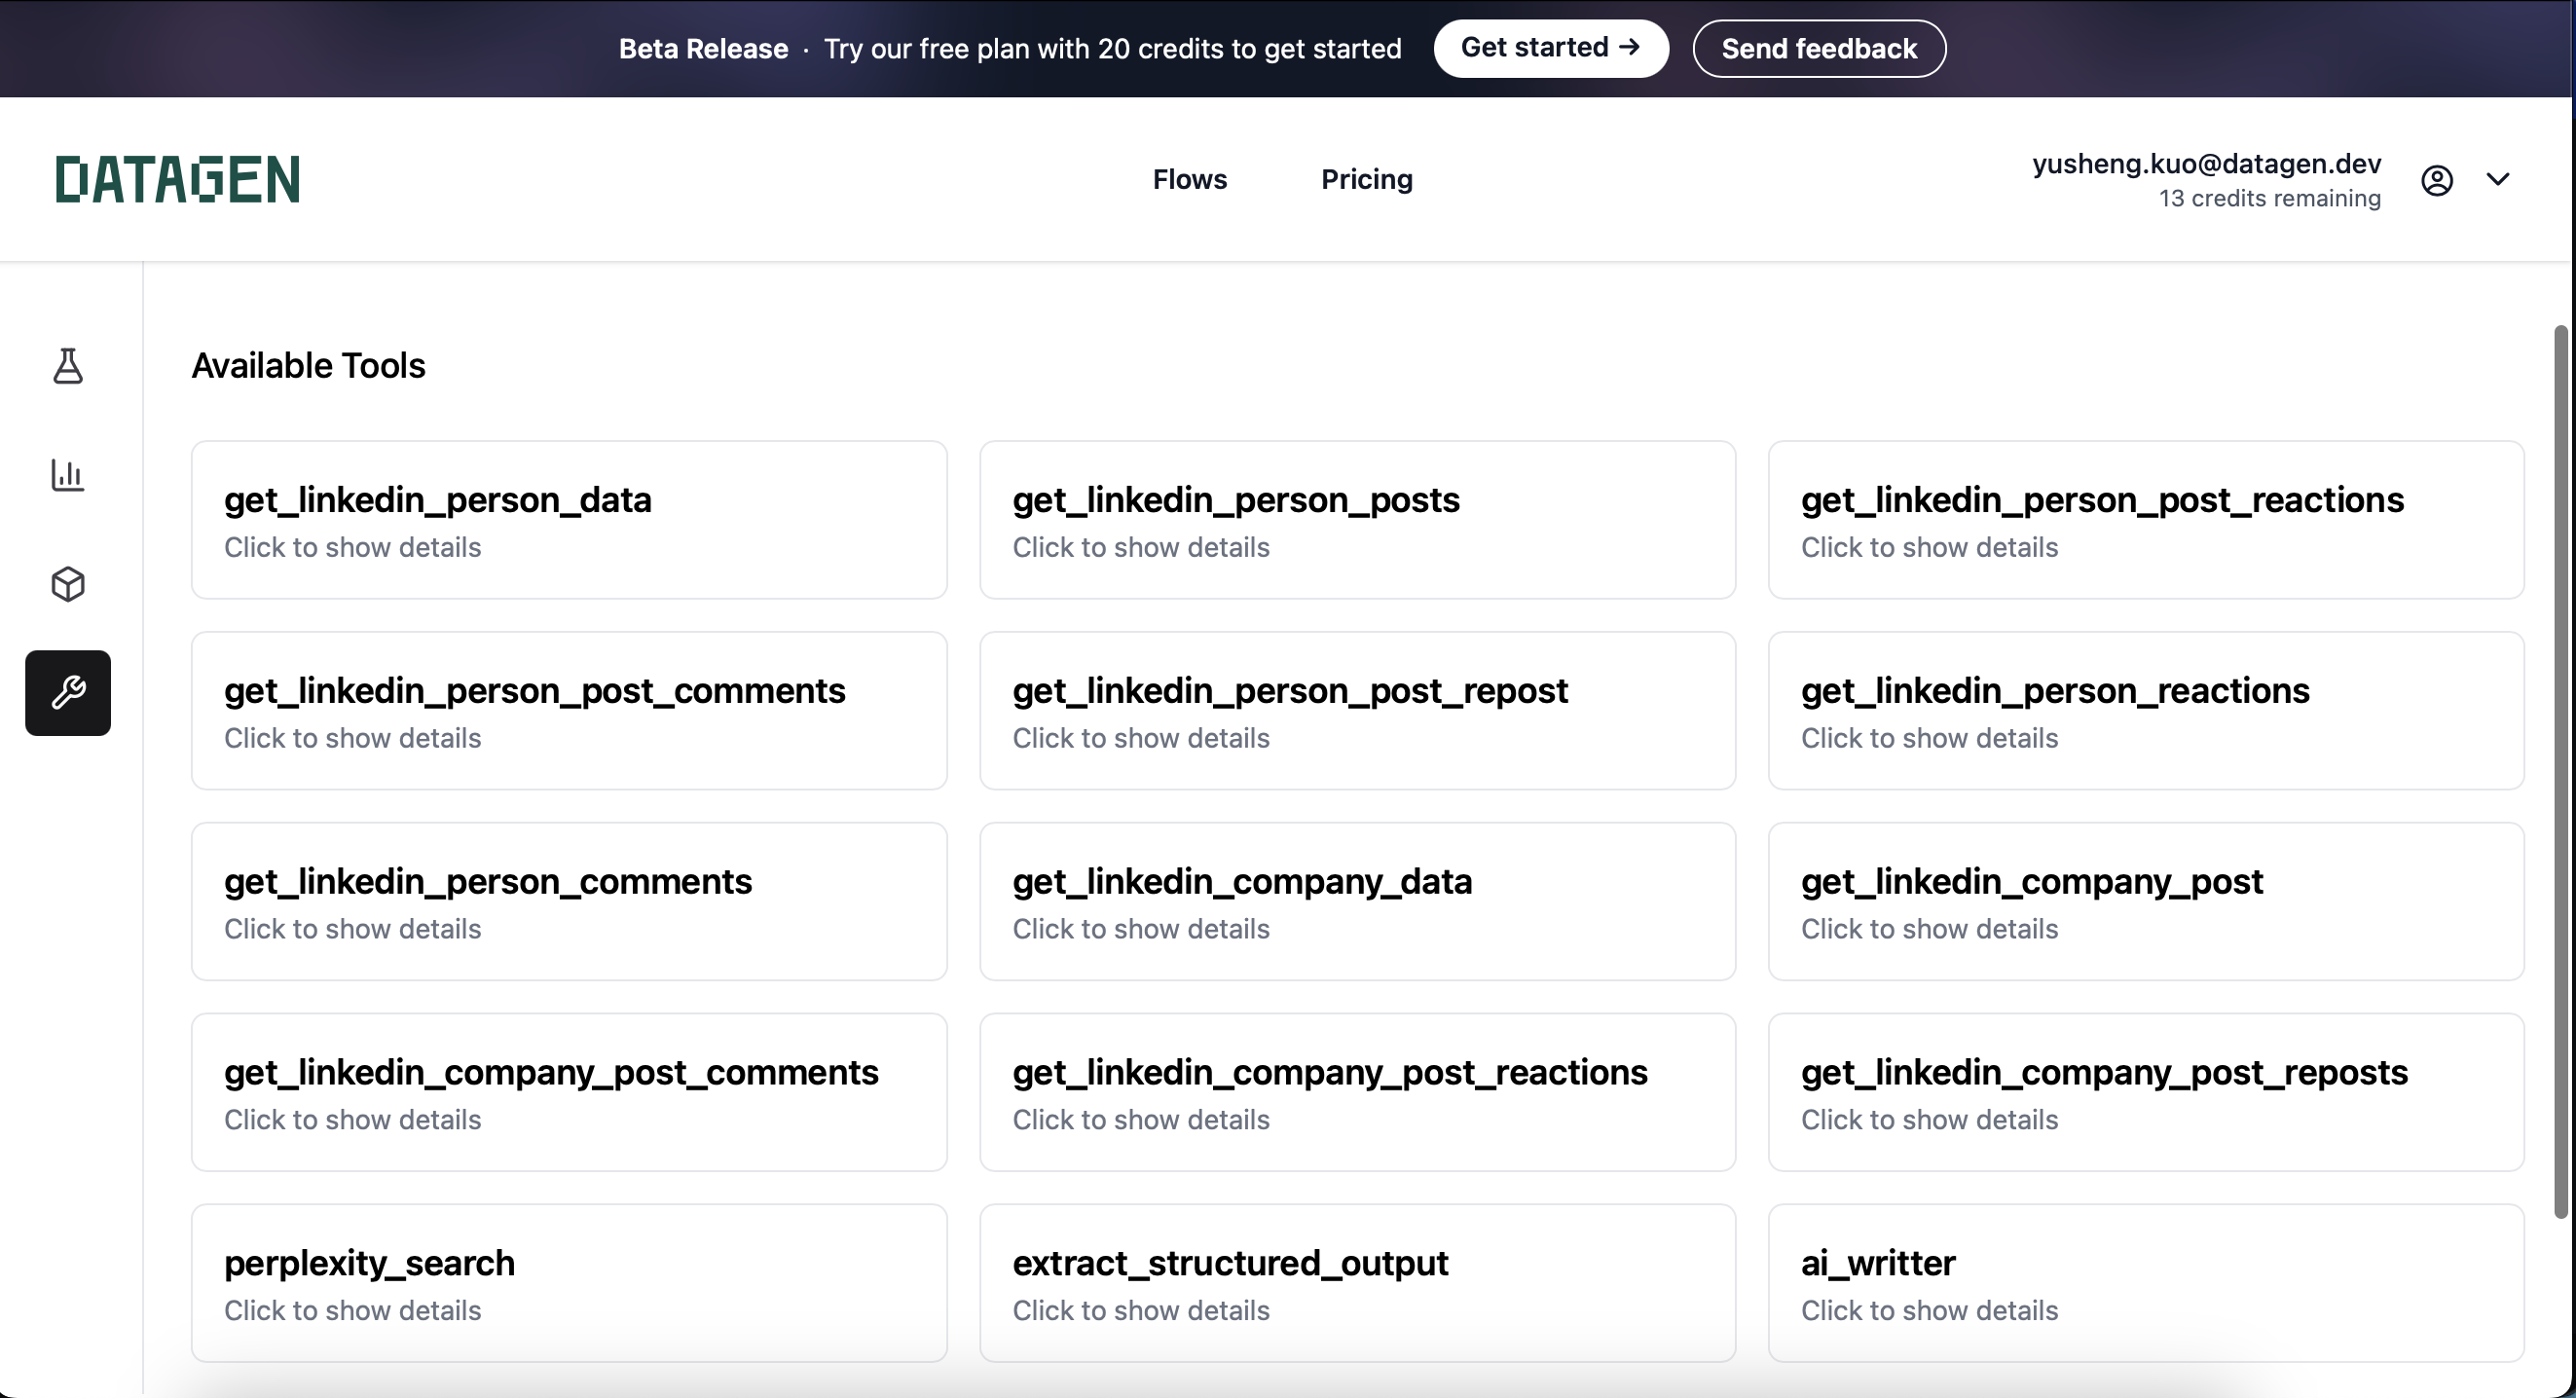
Tools /
The tools are predefined functions that you can use to achieve the step. Most of them are wraper of APIs with properly typed inputs and outputs.
It allows you to easily reuse those functions to further enhance the success rate of the step creation. And just similar to the tools in LLM chat apps , we let LLM to decide the value for you to put into the tool without you manually input it.
To select a tool in your step, simply put ’/’ in front of the tool name. For example, to select the tool get_linkeded_person_data, simply put /get_linkeded_person_data.
You can see the list of tools in the tool section with the ranch icon.
Sumbit and Build
Once you’re happy with the step description, you need to submit the step by clicking theSubmit button before building the step.
Next, you need to make sure the input have value put in. Once the step is sumbitted, and the input is filled, you can click the Build button to build the step.
During the building process, our Code Gen will try to create the code to accomplish the step and use the input value to validate and self correct. So its not just a code recommendation, but validated by your input value.
Here are two articles you will see after you hit the Build button:
Thinking Step
So the first thing you will see is the thinking tokens from LLM to explain how he is understanding the step and the input value. Then LLM will try to create the code and use the input values to validate and self correct. You can see the errors and know what it is missing. and try to correct it by hitting theedit button. Once the step is successfully built, you can see the output in the output section on the right. You should go ahead and validate the output to confirm if it is what you expect.
Code
If you want to see the full code generated from LLM, you can click theCode button. This is useful when you want to see the full code and understand how it works.